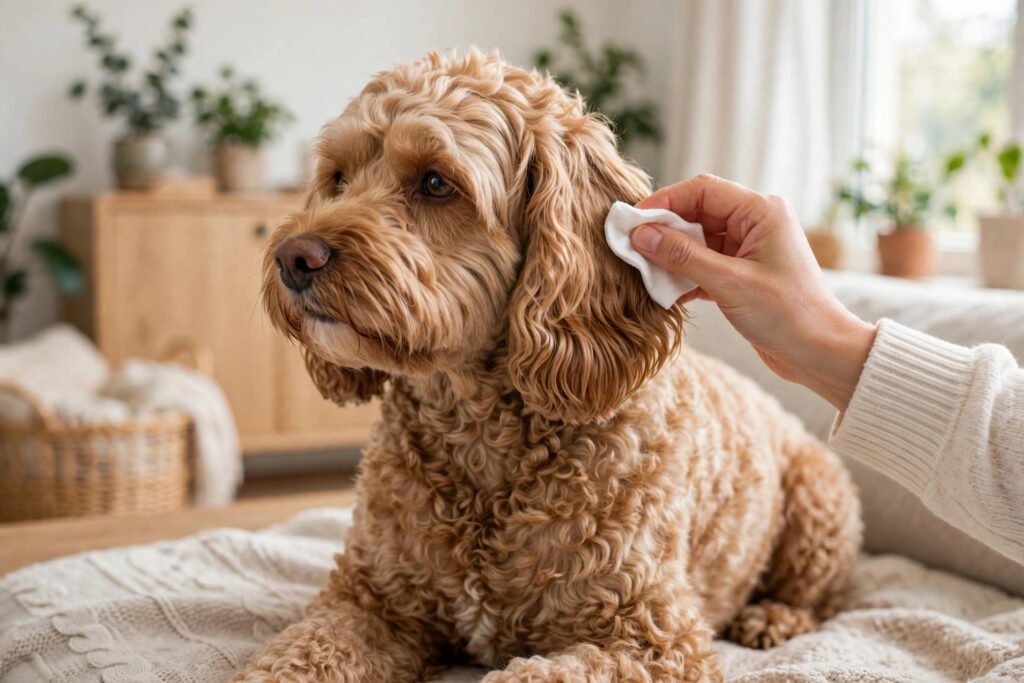
Learn how to clean Cockapoo ears safely at home: supplies, frequency, a step-by-step routine, puppy training tips, and what never to put in the ear canal.
Quick answer: Check your Cockapoo’s ears once a week and clean them about once a month. Lift the ear flap, fill the canal with a vet-approved dog ear cleaner, massage the base for 20 to 30 seconds, let your dog shake, then wipe only the outer ear with cotton balls. Never push cotton buds, fingers, or tools into the canal.
Cockapoo ears are a perfect trap for trouble, and it is not your dog’s fault. The Cocker Spaniel side contributes long, floppy ear flaps that seal the ear shut, and the Poodle side contributes hair that grows down inside the canal. Together they hold in warmth, moisture, and wax — exactly the conditions where irritation starts. The good news is that routine ear care is a five-minute job once you know the steps, and most Cockapoos learn to tolerate it calmly if you introduce it the right way.
Competitor pages on this topic are thin. The best-known Cockapoo-only page gives four short steps and stops. This guide goes further: the supplies that actually matter, how often to clean (and when to leave healthy ears alone), a numbered routine you can follow the first time, the mistakes that cause damage, how to get a puppy comfortable with ear handling, and the honest, unsettled question of ear-hair plucking.
Why Cockapoo Ears Need Regular Attention
A dog’s ear canal is L-shaped, dropping down and then turning inward, so wax and moisture do not drain out the way they do from a human ear. In a Cockapoo, two inherited traits make that shape harder to keep clean. The heavy, floppy ear flap covers the opening and limits airflow, and fine hair inside the canal catches wax and debris. Neither trait means your dog is sick; both mean the ears deserve a regular check, just like brushing does for the coat.
A weekly look costs you thirty seconds and catches problems early. Lift each flap and look for redness, swelling, a strong smell, dark or heavy discharge, or your dog flinching when you touch the ear. Healthy ears look pale pink inside, carry only a small amount of light tan wax, and smell like nothing much at all. Anything else is a reason to pause the routine and read the “stop and call your vet” section below before you clean.
Supplies You Need (and What to Skip)
Gather everything before you start, because a half-cleaned dog that watches you hunt for cotton balls is a dog learning to dread the next session.
You need:
- A vet-approved ear cleaner made for dogs. Ask your vet or groomer to recommend one at your next visit; a drying formula suits dogs that swim a lot, while a gentler formula suits dogs with sensitive skin. The label should say it is for dogs — human ear drops are a different product.
- Cotton balls or gauze pads. Large, soft ones are best, because they cannot slip deep into the canal the way a small swab can. (If you read UK Cockapoo sites, you will see the same item called “cotton wool” — it is the identical product under a different name.)
- Small, high-value treats your dog loves, for rewarding calm behavior during and after the clean.
- A towel you do not mind getting dirty, especially if your dog shakes cleaner onto your shirt — most do.
- A second person, if your dog is new to this. One person holds and treats while the other cleans, until the dog is relaxed enough for one-handed work.
You do not need:
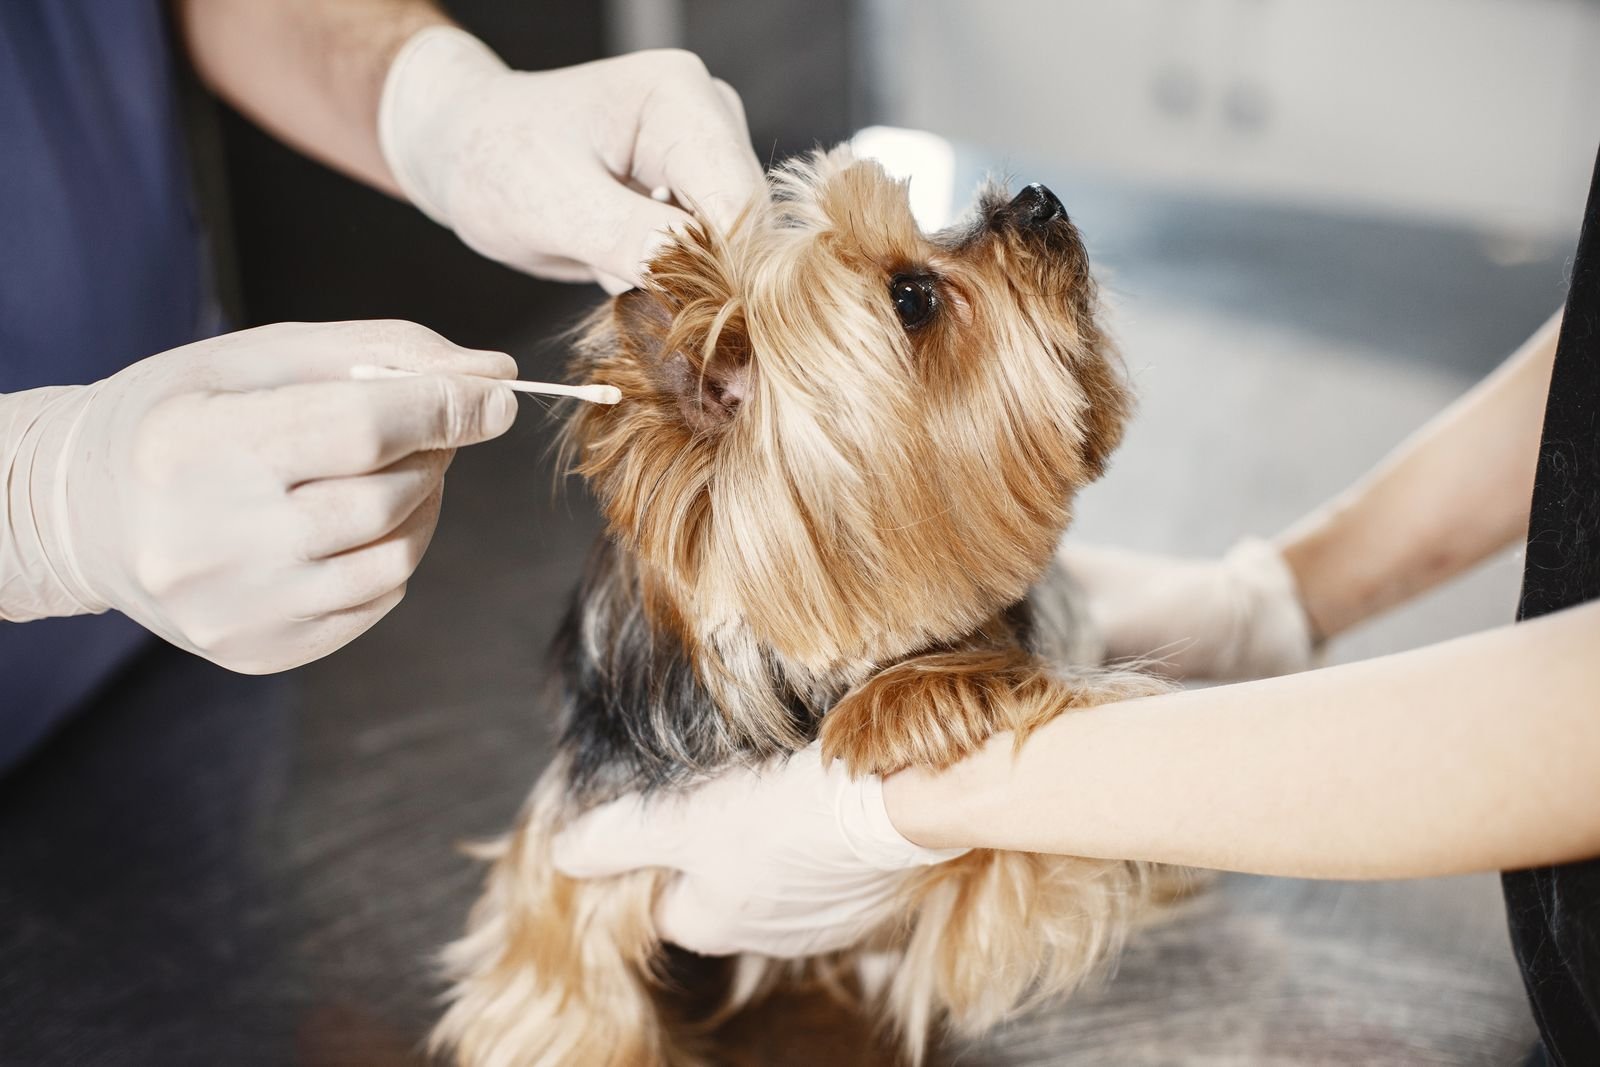
- Cotton buds (Q-tips) or any stick, tweezer, or tool inside the canal. These push wax deeper, risk scratching the canal wall, and can damage the eardrum if the dog jerks.
- Alcohol, hydrogen peroxide, vinegar mixes, or homemade recipes. These sting, dry out or irritate the canal lining, and can make a mild problem worse. If a source recommends a vinegar flush for a healthy ear, skip it; the cleaner your vet approves is safer and simpler.
- Ear powder, unless you are deliberately doing ear-hair work (see the plucking section below) and know why.
How Often Should You Clean Cockapoo Ears?
The honest answer is: check weekly, clean only when needed. Competitor pages often say “clean weekly” as a blanket rule, but a healthy ear that is already clean does not benefit from weekly flushing — over-cleaning irritates the canal lining and can cause the very redness you are trying to prevent.
| Your dog’s situation | How often to clean |
|---|---|
| Healthy ears, light wax, no smell | About once a month, or when you see wax or dirt |
| Swims, baths, or gets wet ears often | Dry after every swim or bath; clean when you see buildup, roughly every 2 to 4 weeks |
| Heavy wax, hair-packed canals, or a past ear problem | As often as your vet directs — this may be weekly for a while |
| Red, sore, smelly, or discharging ears | Do not clean at home; call your vet first |
If you are cleaning more than once a week just to keep up with wax, that is information, not failure. Mention it at the next vet visit, because recurring heavy wax can point to allergies or an ear shape that needs a different plan. And if your vet has prescribed a specific cleaner and schedule for your dog, that instruction outranks anything in this guide.
 CockapooDaily
How to Clean Cockapoo Ears: Step by Step
Work in a calm spot where your dog already relaxes — not the bathtub, not the grooming table on the first attempt. Do one ear fully, reward, then do the other. If your dog gets stressed halfway through, stop, reward, and finish the second ear another day. A calm half-job beats a panicked full job.
Step 1: Settle your dog and look first. Sit with your dog, offer a treat, and gently lift the ear flap. Look inside the outer ear for redness, swelling, discharge, a strong smell, or anything stuck there, such as a grass seed after a walk. If anything looks sore or infected, stop here and call your vet — cleaning a sore ear hurts and can spread irritation deeper.
Step 2: Warm the cleaner in your hand. Hold the bottle for a minute so the liquid is not cold. Cold cleaner startles dogs and is one of the most common reasons a first session goes badly.
Step 3: Fill the canal, do not dribble it. Lift the flap with one hand, place the bottle tip just at the canal opening (never push it inside), and squeeze enough cleaner to fill the canal. You are aiming for a gentle fill, not a few drops on the surface — the liquid needs to reach the wax sitting in the bend of the canal.
Step 4: Massage the base for 20 to 30 seconds. With the flap still lifted, use your thumb and fingers to massage the firm cartilage at the base of the ear, just below the opening. You should hear a soft squelching sound. This is the step that actually loosens wax; skipping it is why a quick wipe alone never seems to help.
Step 5: Let your dog shake. Step back, let go, and let your dog shake its head. This is not misbehavior — it is how the loosened wax and dirty cleaner travel up and out of the canal. Keep the towel handy and expect some spray.
Step 6: Wipe only what you can see. Wrap a cotton ball or gauze pad around your finger and wipe the folds of the outer ear and the first part of the canal you can reach without pushing inward. Work outward, away from the canal, and switch to a fresh cotton ball as soon as one looks dirty. Repeat until a cotton ball comes away mostly clean.
Step 7: Dry the outer ear. Finish with a dry cotton ball or soft cloth over the outer ear and the hair around it. A damp ear flap left to sit, especially under a floppy ear, stays warm and moist — the opposite of what you want.
Step 8: Reward and check the other ear. Give the treat, praise calmly, and repeat on the second ear. Then make a mental note of what you saw: how much wax, what color, any smell. That note is what lets you spot a change next month, and it is genuinely useful information for your vet if a problem ever develops.
Total time for both ears, once you are practiced, is about five minutes. The first few sessions take longer, and that is fine.
What NEVER to Do When Cleaning Cockapoo Ears
These mistakes appear again and again in owner forums and even in some older grooming guides. Each one can turn a routine clean into a vet visit.
Never push cotton buds into the canal. This is the single most important rule. A bud packs wax deeper toward the eardrum, can scratch the canal wall, and can puncture the eardrum if the dog moves suddenly. Cotton balls and gauze exist precisely because they cannot go where they should not.
Never clean a sore, red, or discharging ear at home. Pain, swelling, strong odor, dark discharge, or a dog that cries when the ear is touched all mean the ear needs a vet’s eyes first, not a flush. Cleaning can hurt and can push infected material deeper.
Never use alcohol, peroxide, vinegar, or homemade mixes. These sting raw skin, strip the canal’s protective lining, and can worsen irritation. A vet-approved dog cleaner is the whole supply list for the liquid part of this job.
Never use human ear drops or leftover medication. Drops prescribed for another dog, or for a person, may be wrong for your dog’s condition and may be unsafe if the eardrum is damaged. Only use what your vet prescribed for this dog.
Never pluck hair from a sore or infected ear. Plucking an irritated canal adds pain and inflammation. The plucking question is covered below, but the absolute rule is: no plucking in an ear that is already unhappy.
Never force a panicking dog. Pinning a dog down to finish a clean teaches it that ear handling is frightening, and the next session will be twice as hard. Stop, reward the calm moments, and build up over days using the puppy plan below — it works for nervous adults too.
Getting a Puppy Comfortable With Ear Cleaning
The easiest ear-cleaning dog is one that learned as a puppy that ear handling predicts treats. The whole plan takes about two weeks and a handful of treats a day, and it is worth more than any technique tip in this guide.
Days 1 to 3: Touch only. During calm moments, lift each ear flap for a second, give a treat, and let go. Repeat a few times a day. You are teaching the puppy that a hand near the ear is a good thing.
Days 4 to 7: Touch and look. Lift the flap, look inside for a few seconds, treat, and release. Add a gentle rub around the base of the ear, the same motion you will use to massage cleaner in later.
Days 8 to 11: Add the bottle. Let the puppy sniff the cleaner bottle, touch the bottle tip near (not in) the ear, and treat. Put a drop of cleaner on a cotton ball and wipe just the outer flap, then treat.
Days 12 to 14: Do a real clean, one ear at a time. Follow the step-by-step routine for one ear, reward generously, and stop. Do the second ear the next day. If the puppy struggles at any stage, drop back one stage for two days rather than pushing through.
Two habits make this stick. First, keep sessions short — two minutes of calm handling beats ten minutes of wrestling. Second, keep handling ears between cleans: a quick lift-and-treat during cuddle time keeps the association fresh, so the monthly clean is never a surprise.
Should You Pluck Cockapoo Ear Hair?
This is the one genuinely unsettled question in Cockapoo ear care, and any guide that pretends it is settled is oversimplifying. Some groomers and owners pluck the fine hair growing inside the canal, arguing that it traps wax and blocks airflow. Some vets and groomers now argue the opposite: pulling hair damages the canal lining, causes inflammation, and can trigger the infections it is meant to prevent. The honest summary is that neither side has won, and the right answer depends on your individual dog.
Here is a practical way to decide:
Leave a healthy, quiet ear alone. If your dog’s ears are clean, dry, and trouble-free, there is nothing to fix. Do not start plucking a healthy ear on a schedule just because a grooming guide says to.
Trim instead of plucking, as a middle path. Trimming the hair under the ear flap and around the canal opening, with blunt-tipped scissors or a trimmer, improves airflow without pulling hair from inside the canal. Many groomers now do this by default, and it is the gentlest option for a dog with moderate canal hair.
Pluck only if your vet asks for it, or if it is already working for your dog. If your vet has examined the canal and recommended plucking — for example, because wax-packed hair keeps blocking the canal — follow that advice for that dog. If your groomer has plucked for years with no problems, changing a working routine is not required. What you should not do is start plucking a dog that has never had it, on a stranger’s say-so.
Never pluck a sore ear. An infected or inflamed canal must be treated first. Plucking comes only after the vet says the ear is healthy again — or the vet does it during treatment.
When you discuss this at a grooming appointment, say which approach you want: leave it, trim around it, or pluck as before. Groomers vary, and “do the ears” means different things to different groomers. If ear care is part of a professional groom, it is worth knowing what that groom typically includes and what it costs; see our guide to Cockapoo grooming costs before you book. For the timing of a puppy’s first professional groom, see our guide to when a Cockapoo should have its first haircut.
After Baths and Swimming: Dry the Ears
Water is the other half of Cockapoo ear care. Floppy ears trap water after a bath, a swim, or even a rainy walk, and trapped water is what turns a clean ear into a smelly one. Competitor grooming pages mention this in passing; in practice, it deserves its own habit.
After any water exposure, let your dog shake, then towel-dry the outer ear flap and the hair around it. Lift the flap and wipe the visible outer ear with a dry cotton ball. You do not need a full cleaner flush after every swim — drying is the routine, and a flush is for when you actually see wax or dirt. If the ears develop a smell after swimming that lasts once the dog is dry, or if head shaking continues, that is a vet conversation, not a sign to clean harder.
For dogs that swim often, a drying ear cleaner (ask your vet for a recommendation) used after swims can help, but it should be the product your vet approved for your dog, not a homemade drying mix. For the broader water picture — how to introduce swimming safely in the first place — see our guide to whether Cockapoos can swim.
When to Stop Cleaning and Call Your Vet
Routine cleaning handles wax and dirt. It does not treat disease, and cleaning through the warning signs can delay treatment. Stop and call your vet if you see any of these:
- Redness, swelling, or heat in or around the ear
- Dark brown, yellow, or bloody discharge, or a strong, sour, or yeasty smell
- Constant head shaking, scratching at the ear, or rubbing the head on furniture
- Pain when the ear is touched, yelping, or a head tilt
- Wax or smell that returns within days of cleaning, again and again
These signs can mean infection, mites, allergies, or a foreign object such as a grass seed — and each needs a different treatment. This article deliberately does not repeat the symptom-and-treatment detail, because it already lives in our companion guide: for the full picture of symptoms, causes, and treatment, see Cockapoo ear infections.
Frequently Asked Questions
How often should I clean my Cockapoo’s ears?
Check them once a week and clean about once a month, or whenever you see light wax or dirt. Dogs that swim a lot or have heavy wax may need cleaning every 2 to 4 weeks. If your vet has given your dog a specific schedule, follow that instead. Cleaning more than once a week without a vet’s direction can irritate the canal.
Can I use cotton buds to clean my Cockapoo’s ears?
No. Never push cotton buds, or any stick or tool, inside the ear canal. They pack wax deeper, can scratch the canal, and can damage the eardrum if the dog moves. Use cotton balls or gauze pads to wipe only the outer ear and the part of the canal you can reach without pushing inward.
Can I clean my Cockapoo’s ears with vinegar or alcohol?
No. Vinegar, alcohol, hydrogen peroxide, and homemade mixes sting and irritate the canal lining, and they can make a mild problem worse. Use only a vet-approved ear cleaner made for dogs, and ask your vet to recommend one that suits your dog.
Should I pluck the hair from my Cockapoo’s ears?
Only if your vet recommends it for your dog, or if it is already part of a routine that works without problems. Many vets and groomers now prefer trimming hair around the ear opening instead, because plucking can inflame the canal. Never pluck a sore, red, or infected ear, and leave a healthy, quiet ear alone.
Why do my Cockapoo’s ears smell after swimming?
Water trapped under a floppy ear flap stays warm and moist, which lets yeast and bacteria grow and produce a smell. Dry the outer ears with a towel and a dry cotton ball after every swim or bath. If the smell lasts after the ears are dry, or comes with head shaking, redness, or discharge, call your vet rather than cleaning harder.
Conclusion
Cockapoo ear care comes down to a short routine done consistently: a weekly look, a monthly clean with a vet-approved cleaner, drying after water, and a puppy (or nervous adult) taught slowly that ear handling means treats. Skip the cotton buds, skip the homemade mixes, and leave healthy ears alone between cleans. Most importantly, know the line between maintenance and medicine — wax and dirt are yours to handle, but redness, smell, discharge, or pain belong to your vet. Five minutes a month buys your Cockapoo comfortable ears and buys you early warning of anything that needs attention.


Leave a Reply